Basic Homemade Biscuits
/
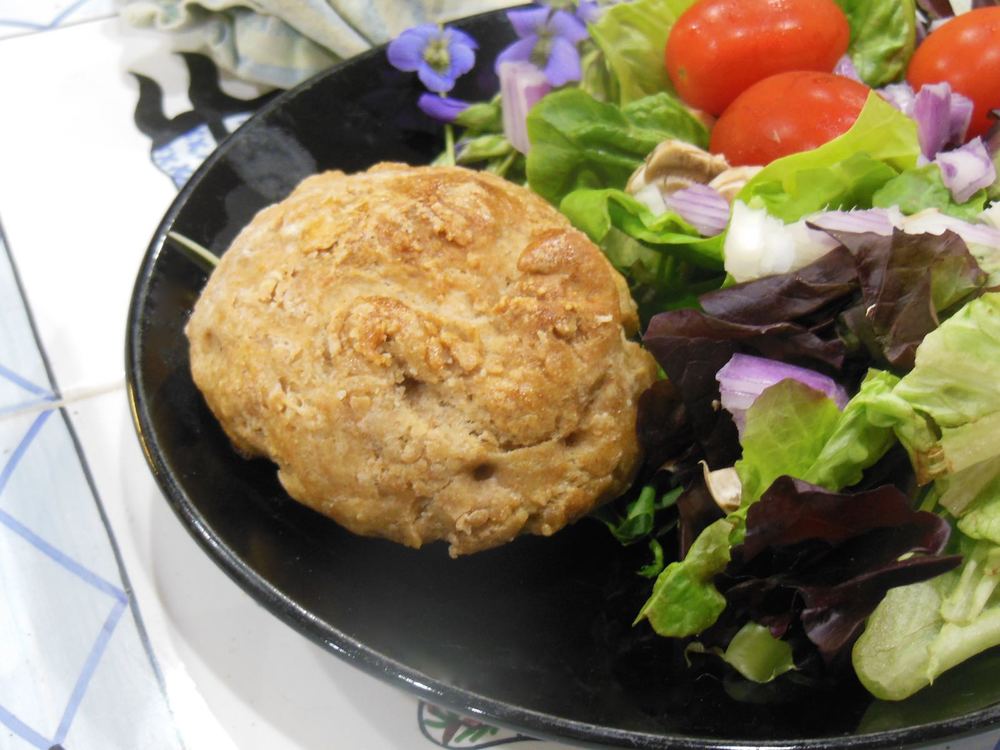
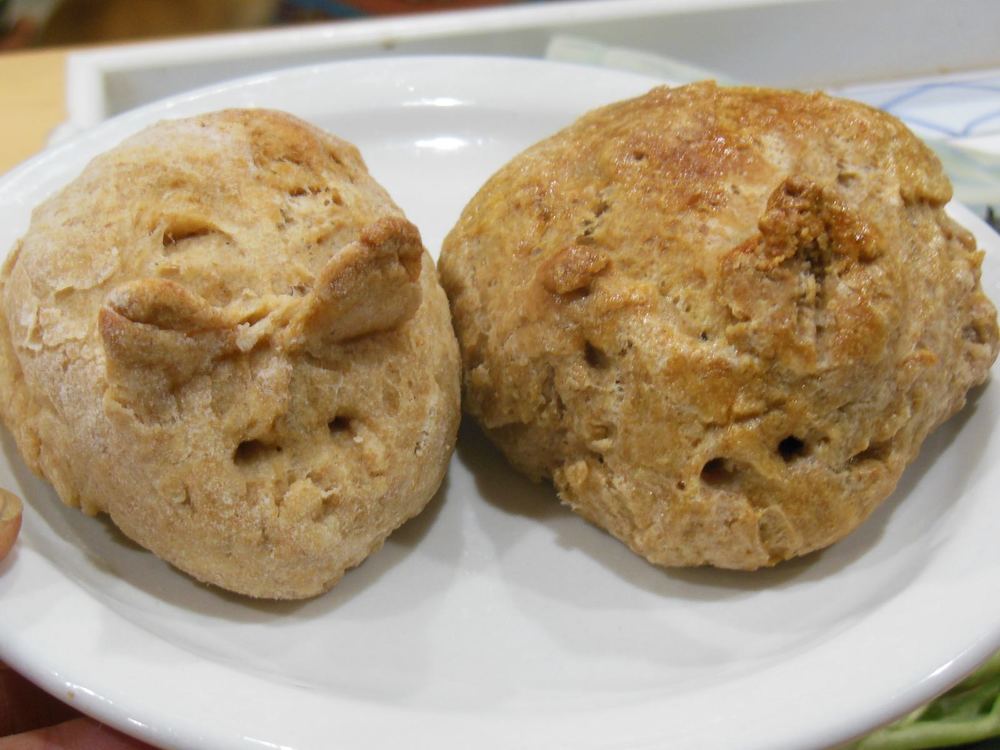
Basic homemade biscuits cooling off on cookie rack. (Photo by Charlotte Ekker Wiggins)
Basic Homemade Biscuits
This is one of those must have basic recipes that takes less than 5 minutes to make and, once baked, can be frozen for later use.
I like these in winter but I keep a supply handy in the freezer all year for visitors who want to share a cup of tea with really fresh honey and strawberry jam.
Basic Homemade Biscuit Recipe
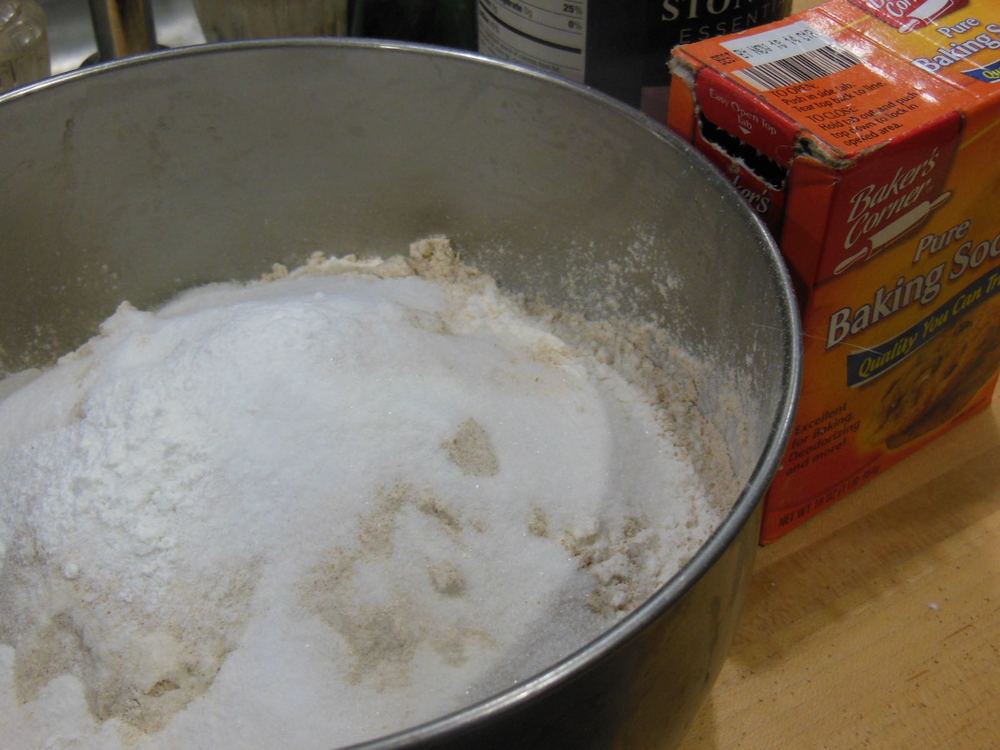
Sift together:
2 cups all purpose flour
3 tsp baking powder
1 tsp salt
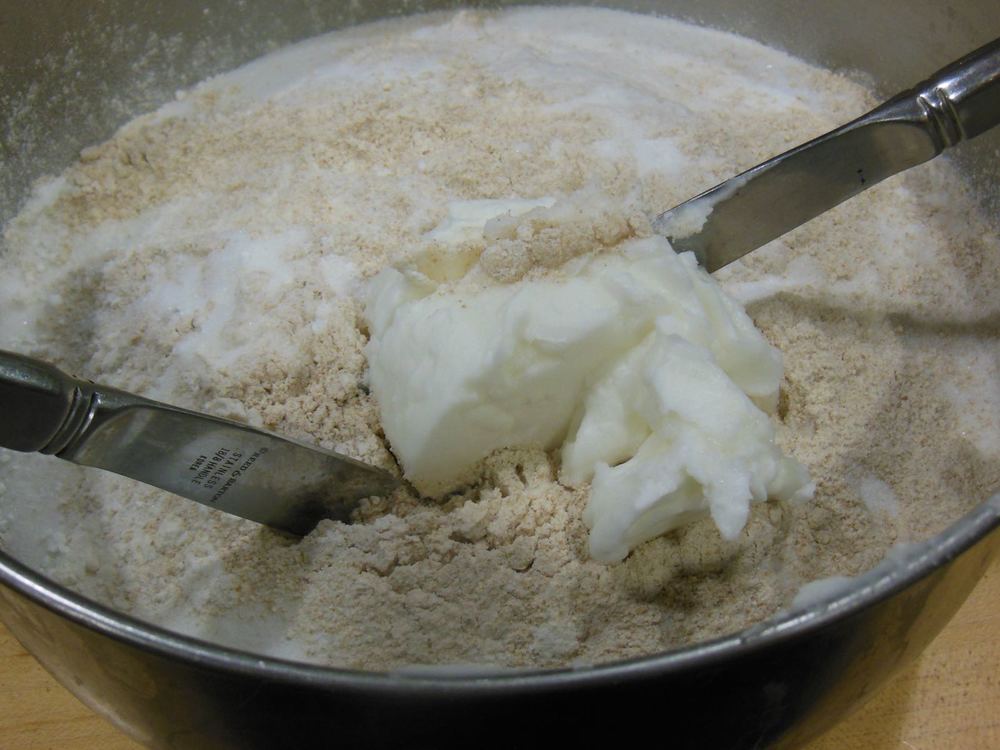
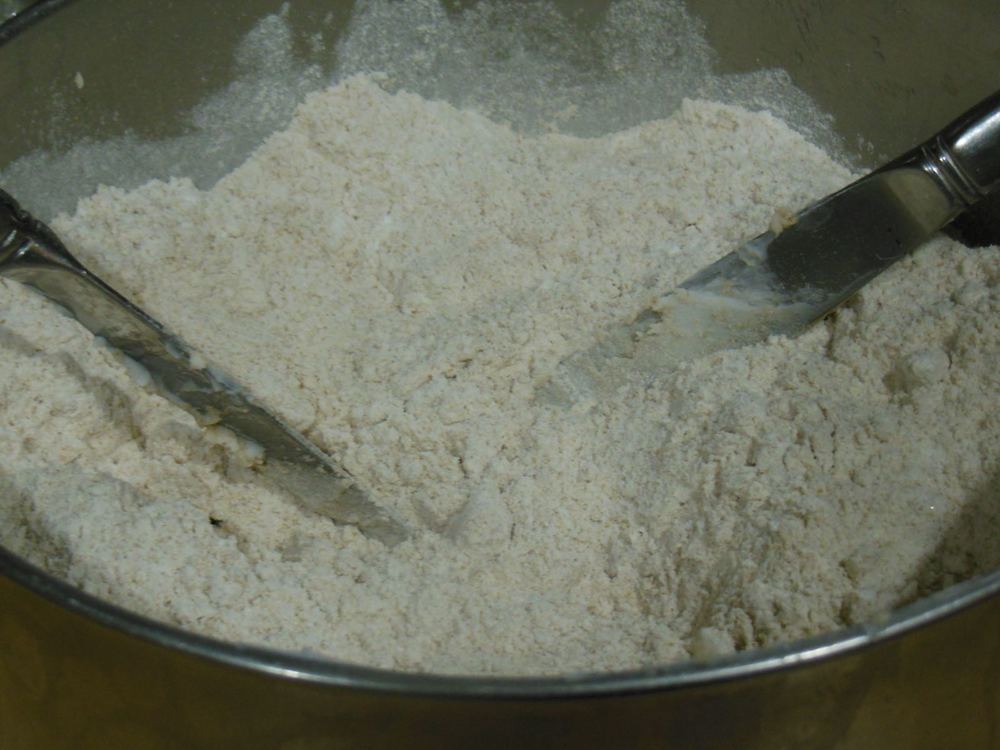
Add 1/4 cup shortening and use two knives to cut it into small pieces.
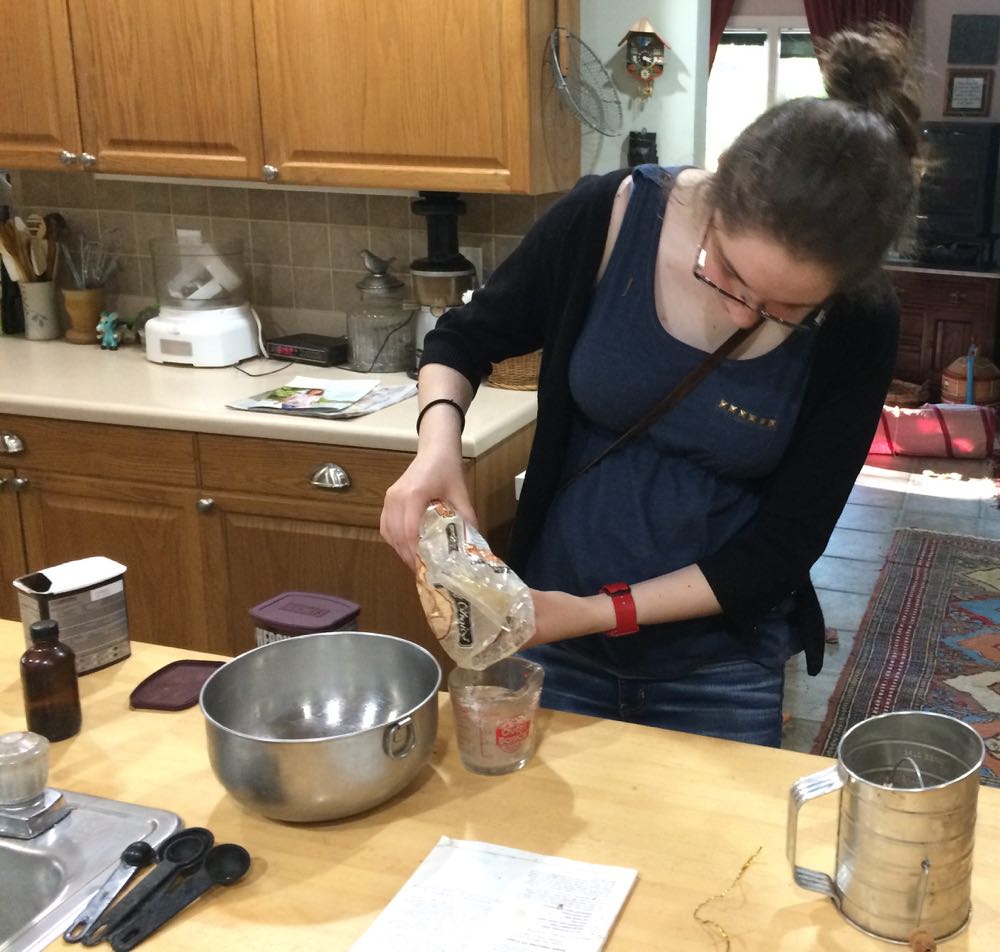
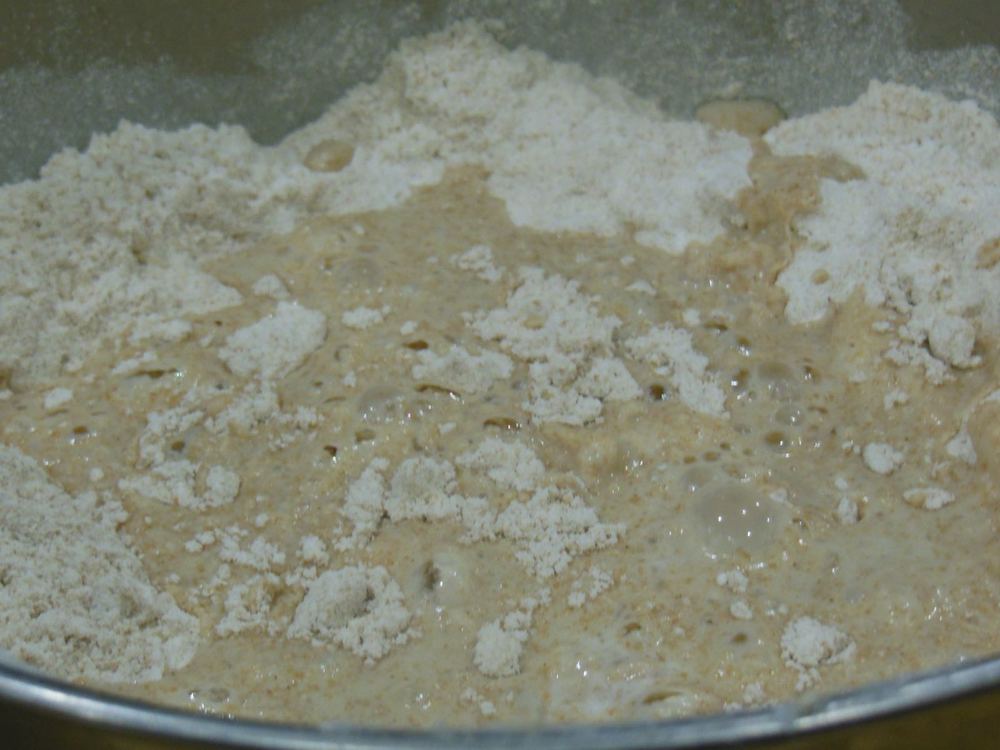
Add 3/4 cup milk.
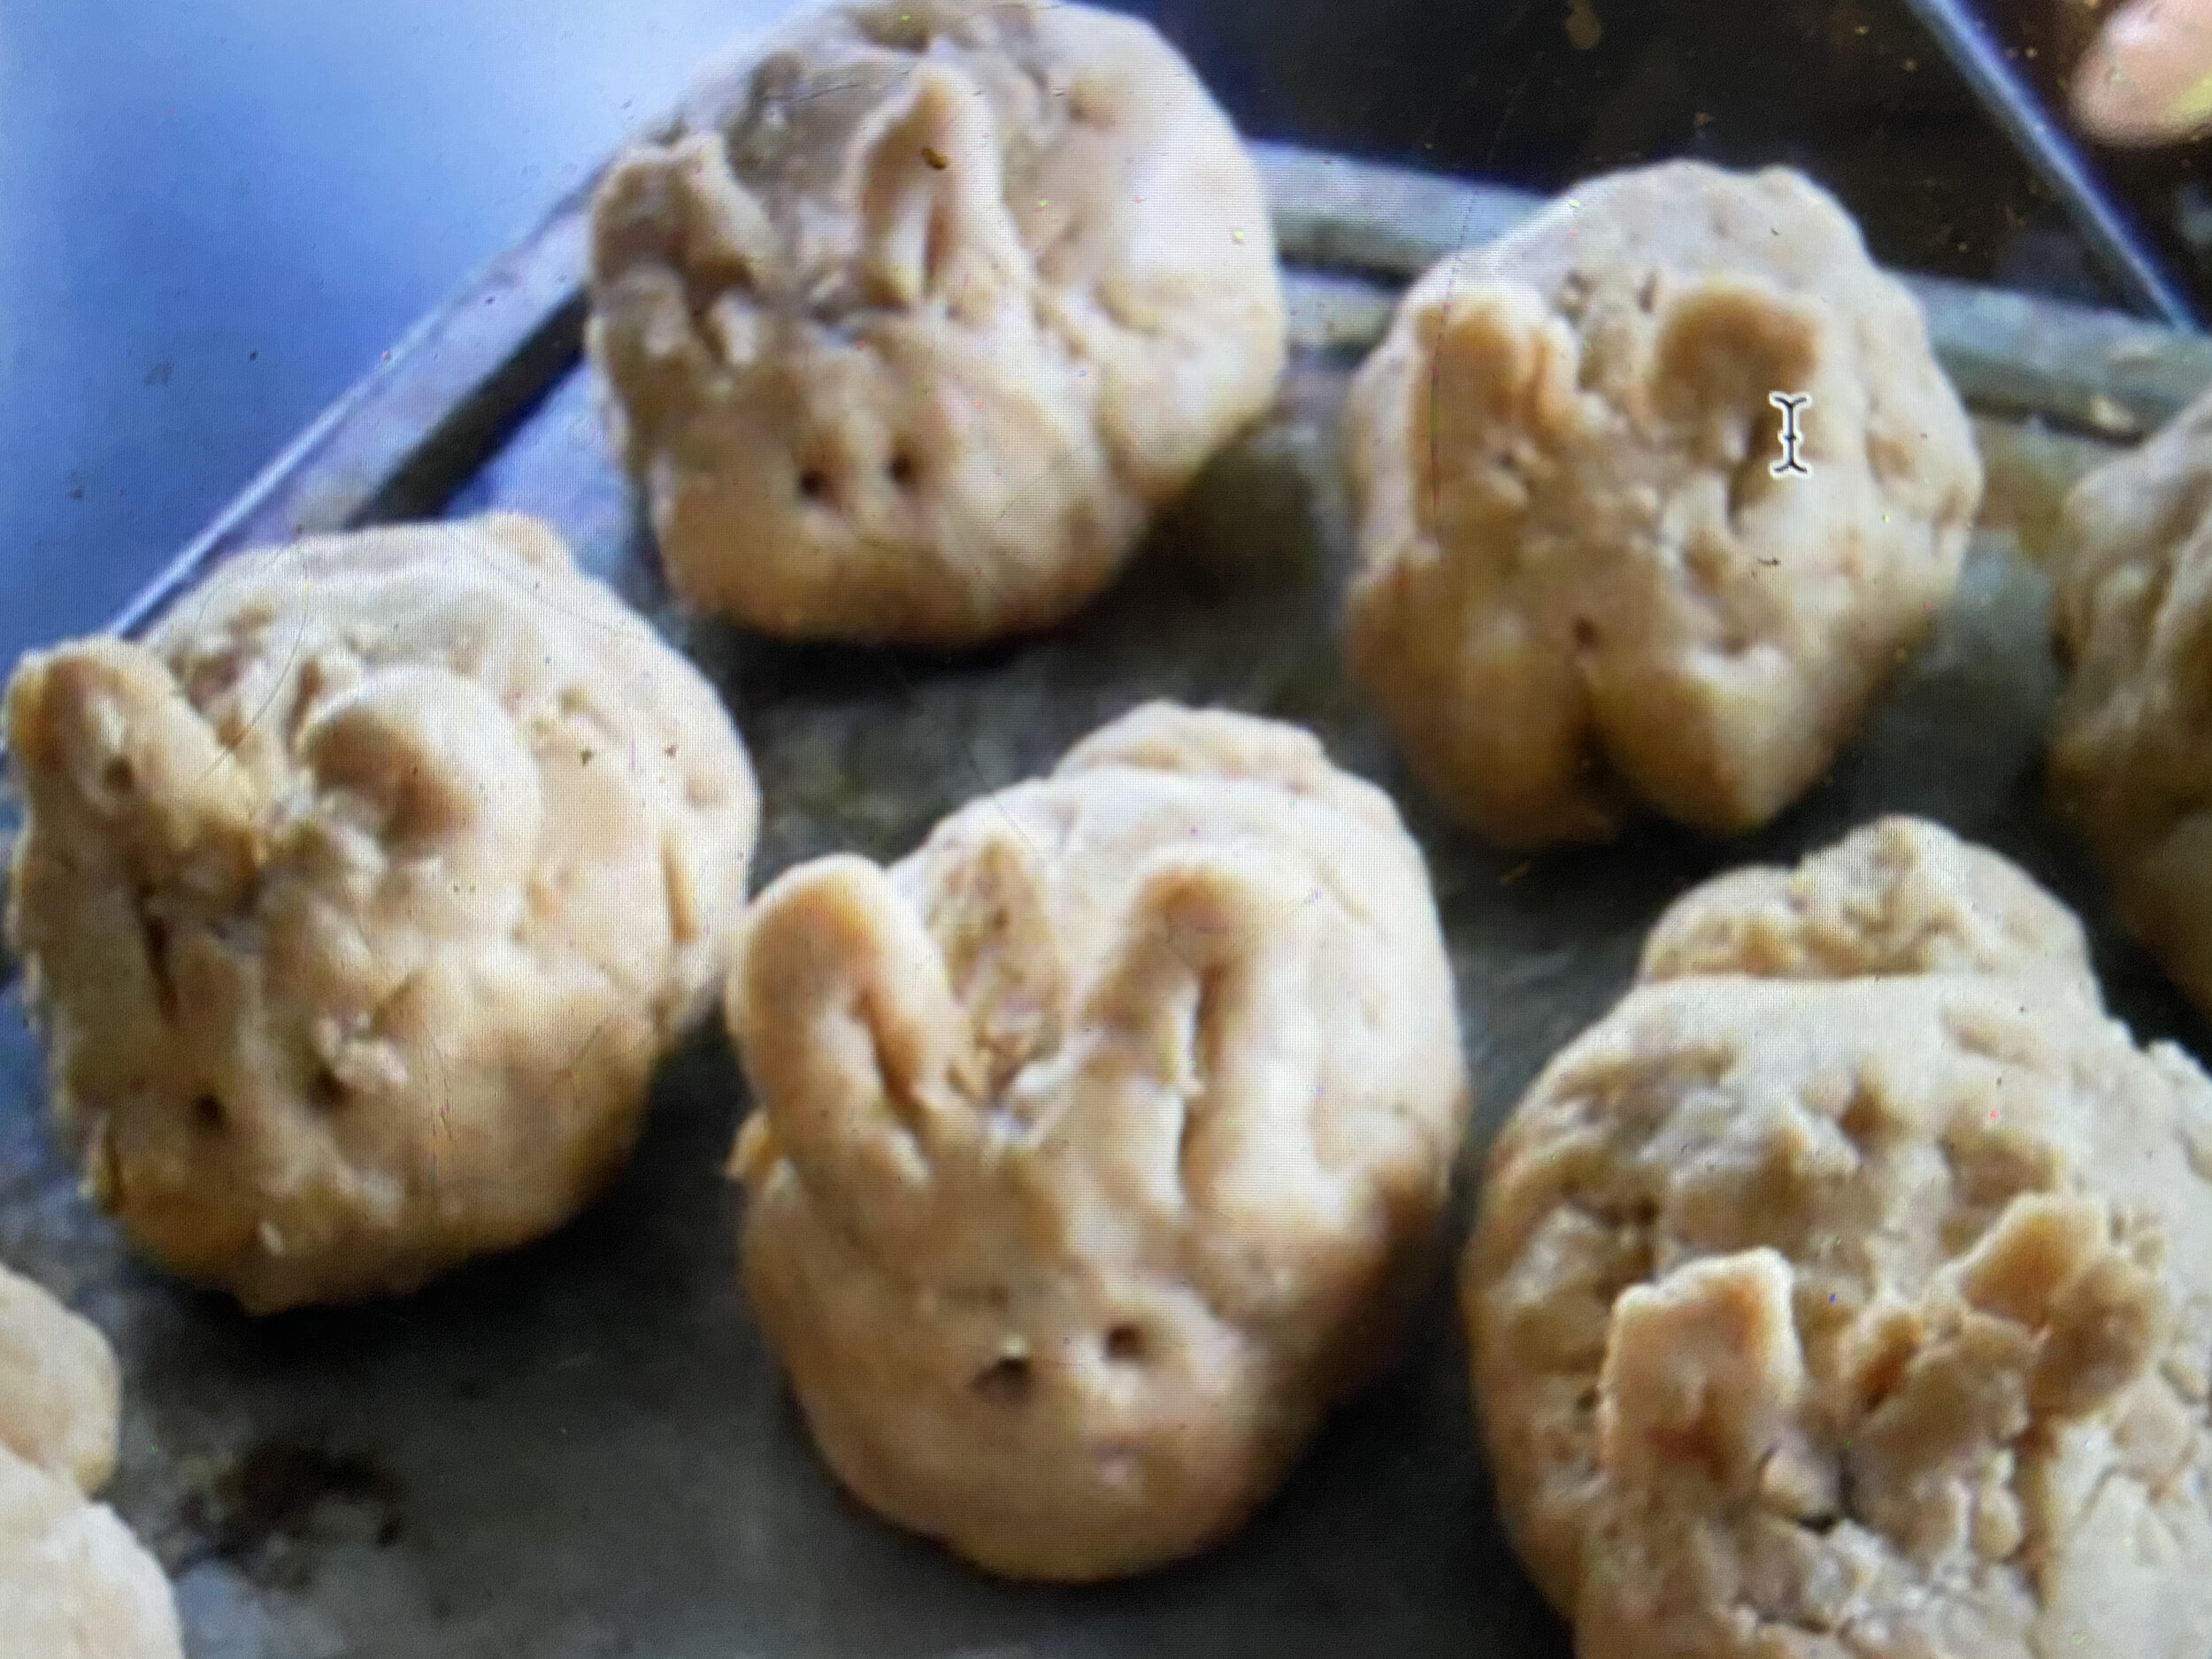
Mix gently, then roll out onto floured board. Cut into 3/4” biscuits.
Bake at 400F for 8-10 minutes until golden brown.
Allow to cool on cookie rack.

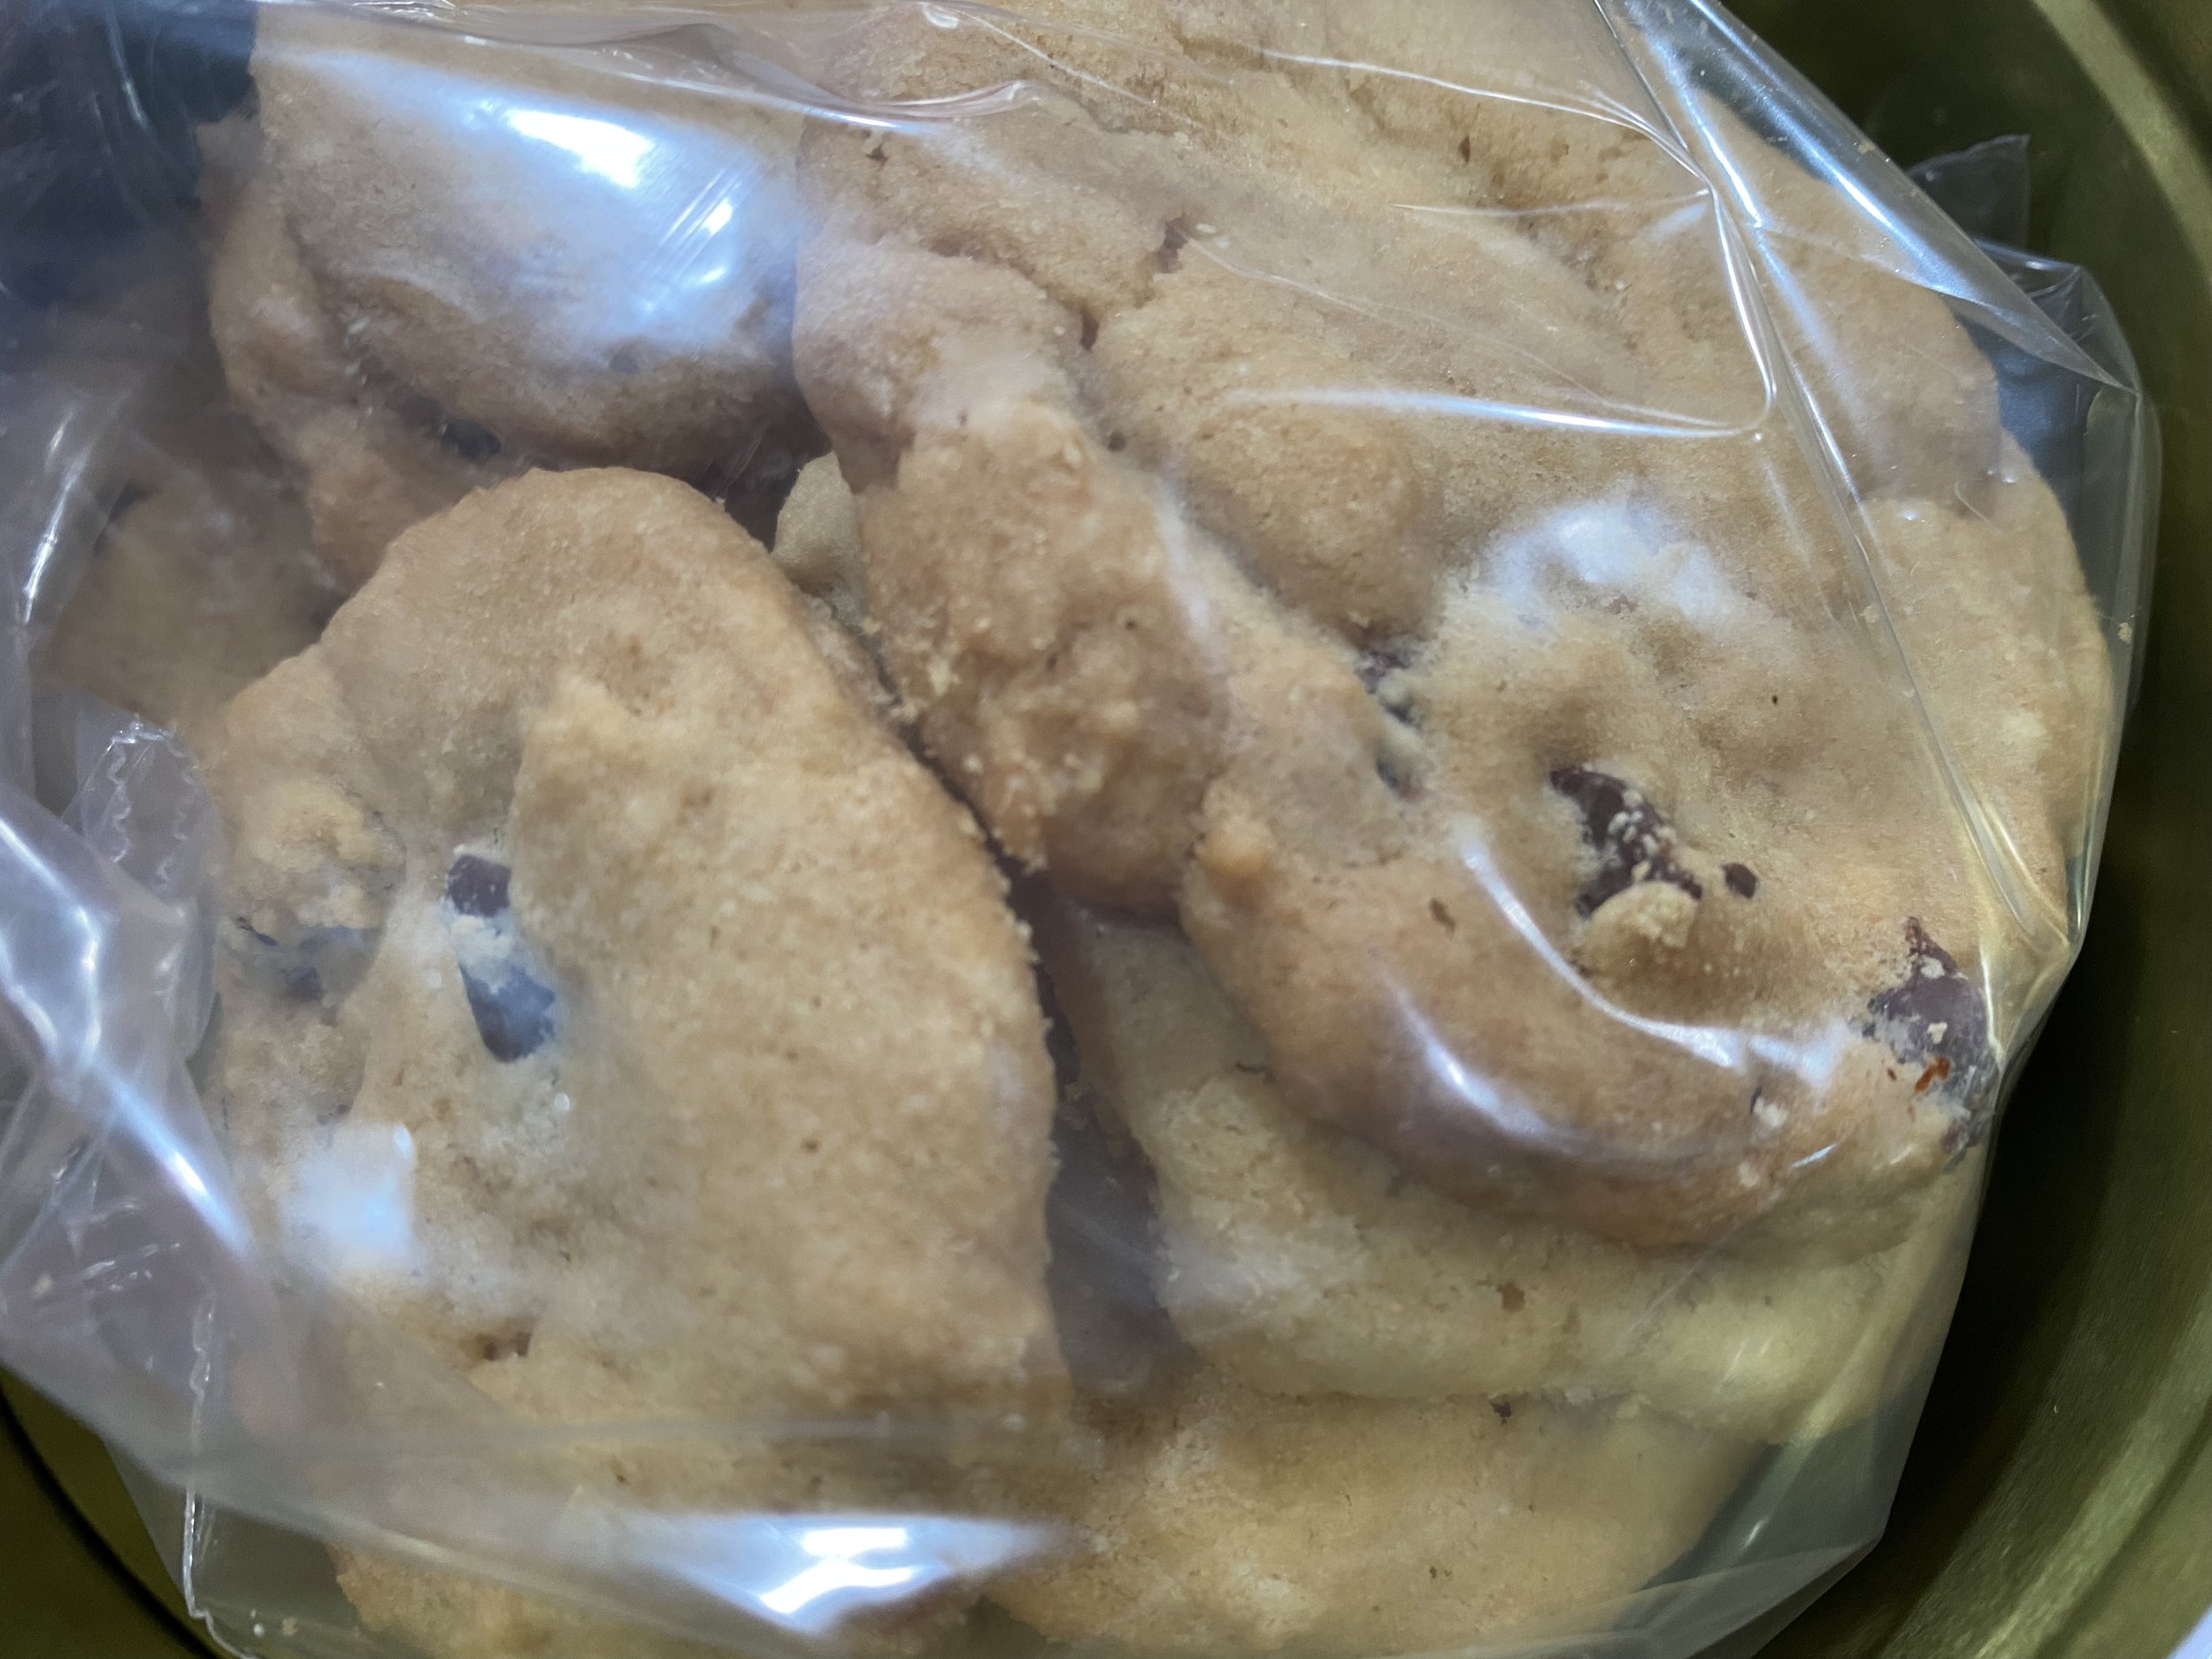
To freeze, I place the biscuits on cookie rack in freezer. (Photo by Charlotte Ekker Wiggins)
Place cookie rack in freezer to individually freeze biscuits. Store in freezer bag.
To defrost, place in microwave for 30 seconds or allow to defrost at room temperature.
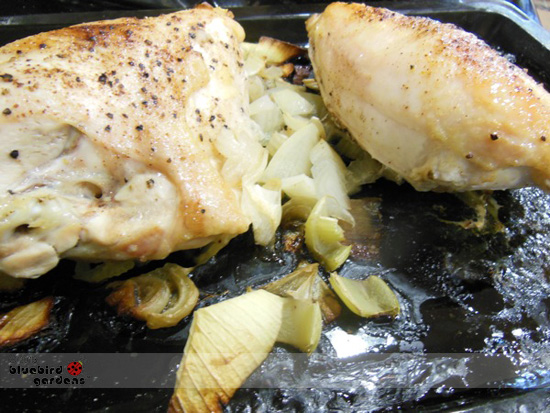
You can turn these biscuits into breakfast if you like gravy, or make your own breakfast sandwich with an omelet or scrambled eggs.
Or so I hear. I haven’t moved past adding honey from my apiary or strawberry jam from our local farmer’s market.
These basic recipes are the foundation of cooking. You will find others in our American Cooking Illustrated Encyclopaedia.
Maybe I will get adventurous this winter.
Charlotte